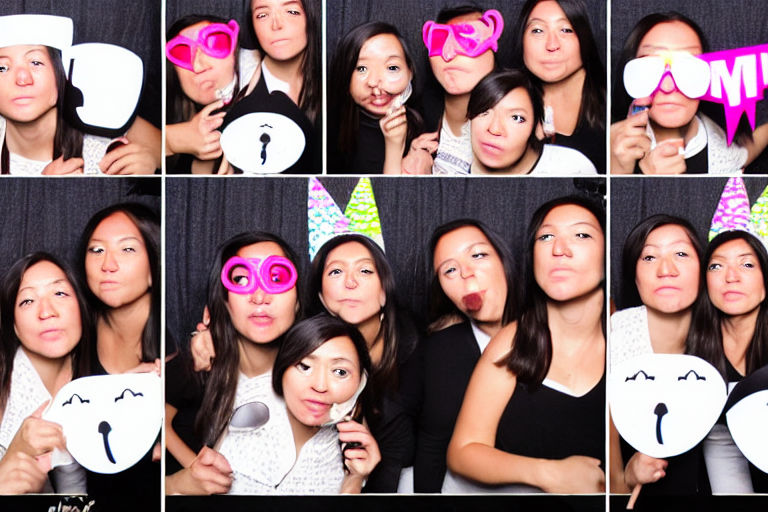
How to Create a DIY Photo Booth for Your Next Party
Are you planning a party and want to add something fun and interactive? Look no further than a photo booth! With a few supplies and a bit of creativity, you can create your own DIY photo booth, customized to your party’s theme and style.
Supplies:
- Camera (DSLR or smartphone)
- Tripod
- Backdrop (This can be as simple as a solid colored sheet or a decorated piece of fabric)
- Props (Think hats, glasses, signs, etc.)
- Lighting (You can use natural light from a window, or add some lamps or string lights for a whimsical effect)
Step-by-Step Guide:
-
Set up your backdrop against a flat wall or hang it on a stand. Make sure there’s enough space in front for people to stand and pose for the camera.
-
Position your camera on a tripod. If you’re using a smartphone, try using a phone holder or prop it up using a stack of books or a small box.
-
Adjust your lighting. If you’re using natural light, make sure your subjects are facing towards the window. If you’re adding artificial lighting, use lamps or string lights to create a flattering ambiance.
-
Gather your props and place them in a basket or box nearby, where they are easily accessible.
-
Test out the camera and lighting with a few test shots. This will help ensure that everything is in focus and properly lit before your guests arrive.
-
Encourage your guests to have fun and get creative with their poses. You can also add a fun hashtag or custom print out for guests to take with them as a party favor.
With a DIY photo booth, your party is sure to be a hit! Just remember to have fun and capture all those memories.


